Do your nails peel and crack easily? What about breakage? Well, a few easy tips can help you take care of your nails and prevent further distress.
First off, protection. You need to protect your nails. You do this by using physical barriers. Your first tool for this is a good ol' pair of gloves. If you are cleaning your home with harsh chemicals wear some plastic, rubber, or latex gloves. You can buy these gloves at the dollar store, and they are worth the investment. After all, it is easier to prevent damage than to repair it.
Your second tool is clear nail polish. When painting your nails, always start with a base coat of clear polish. If you like glitter in your nail polish, a clear coat underneath will provide a barrier so your actual nail won't get scratched by the glitter. If you favor darker shades, wearing a clear polish can help protect your nail from becoming stained.
If you don't like painting your nails, I would suggest wearing a clear coat of polish instead of having bare nails. A simple clear coat offers a small protection against whatever you may come in contact with as you go about your day.
That said, I would recommend letting your nails go natural (for at least a day) between polishings. Polish doesn't allow your nails to breath or take in moisture, which can make them brittle and breakable. I usually do my nails about once a week, and I let them air out for about a day in between polishings. On that day, I really give them special treatment, so they can last another week underneath my polish. I apply cuticle oil, cocoa butter, you name it, and let them soak it in. It has really made a difference for my nails.
If you are in the habit of sporting bare nails, moisturize them often. Dry weather can affect nails and cuticles, too. Whenever you apply hand lotion, massage some into your nails and cuticles to head off this problem.
You also want to take special care with what you put on your nails. While removers containing acetone tend to work quite well, they are hard on your nails. Instead, try a non-acetone remover. It might take a little while longer to remove your polish, but your nails will thank you. And as I mentioned earlier, it is easier to prevent damage than to repair it.
Bottom line: be nice to your nails, and they will be nice to you.
Best of luck in your own nail care :-)
Friday, February 24, 2012
Monday, February 20, 2012
CONCEAL the Madness!!
OK so heres the 411.
Yellow Concealer: great for under the eyes. the yellow color cancels out the blue/purple of under eye bags; although recently i heard peach works better. i've never tried that one though, so if you do be sure n lemme know whatchu thinkk!
Green Concealer: cancels out reds of blemishes and acne scars, it hides them quite well in my opinion if you get the right shade of green (darker for darker skin tones and lighter for lighter skin tones)
Any Concealer about Two Shades Darker than YOUR Skin: great for contouring your features, making your cheekbones pop more or your nose sharper.
Hope you enjoy :]
Tuesday, February 7, 2012
I love me some Bubz y'all
So honestly, in my spare time one thing I really love to do is sit around and watch youtube videos on hair and make up tutorials etc to get ideas. Now of course I have some people that are more of my favorites than others, but I ain't no hater! So credit to BubzBeauty for being incredible :]
Now, honestly one of my New Years Resolutions is to try and be less damaging to my hair. I admittedly am quite cruel to it at times; I dye it, use heating products, brush it when its wet..all kind of horrors. This is coming to a stop. This video worked really well for me because I'm not a big fan of my natural hair and am constantly looking for new ways to do it without damaging it such as straighening/curling irons do. SO I hope you enjoy this as much as I did! Peace out home skillets :]
Now, honestly one of my New Years Resolutions is to try and be less damaging to my hair. I admittedly am quite cruel to it at times; I dye it, use heating products, brush it when its wet..all kind of horrors. This is coming to a stop. This video worked really well for me because I'm not a big fan of my natural hair and am constantly looking for new ways to do it without damaging it such as straighening/curling irons do. SO I hope you enjoy this as much as I did! Peace out home skillets :]
Saturday, February 4, 2012
longer looking lashes
I have a little trick to get longer looking lashes: coat lashes from root to tip with brown mascara, then gently coat the ends with black mascara. This draws greater attention to the ends of your lashes, making them appear longer. Neat, huh?
Wednesday, February 1, 2012
Oh headbands, I could write you a poem..
Roses are Red
Violets are Blue
I have horrible hair on my head
and dont know what to do!?
(HEADBANDS, thats what I should doo!)
Bad hair days are the WORST, we all know it. it's the pits. how to remedy this, you ask!? Well Sara gave you one genius solution with homemade flower clips that are cute and effective :]
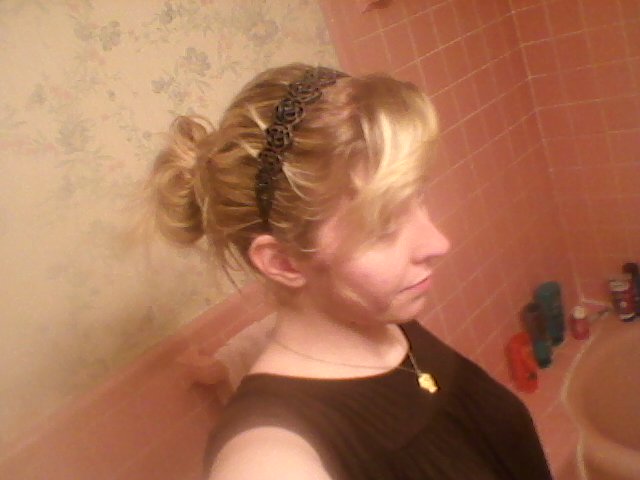
One of my personal favorite solutions is headbands. People are fooled into thinking you have cute hair, whaat! Amazing right? Makes my day better every time people compliment my hair on a bad day.
So simple. Sometimes my hair is just simply unmanagable and requires being put up, and warning now..I got picture happy for this blog because I love headbands and own seriously a million and four. BUT c'mon, admit the headband helps!


Now, honestly naturally I have that half-wavey half-straight hair that just doesn't feel the need to conform to either one, and sometimes when I'm running late I OWN my natural hair. Its the best thing to do even on days I'm not running late, just distract from the fact a little bit that my hair is totally insane. You know, no biggie.


And honestly, even when I take the time to do my hair..I feel it needs just a lil something extra n throw on a headband for pretty :D


headbands are your friends. accept it. embrace it.
Violets are Blue
I have horrible hair on my head
and dont know what to do!?
(HEADBANDS, thats what I should doo!)
Bad hair days are the WORST, we all know it. it's the pits. how to remedy this, you ask!? Well Sara gave you one genius solution with homemade flower clips that are cute and effective :]
One of my personal favorite solutions is headbands. People are fooled into thinking you have cute hair, whaat! Amazing right? Makes my day better every time people compliment my hair on a bad day.
So simple. Sometimes my hair is just simply unmanagable and requires being put up, and warning now..I got picture happy for this blog because I love headbands and own seriously a million and four. BUT c'mon, admit the headband helps!

Now, honestly naturally I have that half-wavey half-straight hair that just doesn't feel the need to conform to either one, and sometimes when I'm running late I OWN my natural hair. Its the best thing to do even on days I'm not running late, just distract from the fact a little bit that my hair is totally insane. You know, no biggie.


And honestly, even when I take the time to do my hair..I feel it needs just a lil something extra n throw on a headband for pretty :D


headbands are your friends. accept it. embrace it.
Friday, January 20, 2012
Homemade Hairclips & the Wily Ways of Women
You know those days when you just don't feel like doing your hair? Or worse: you do, but you don't have time? Well, I don't know about you, but I resort to trickery on those days.
You heard me: trickery. I'm a woman. I'm wily. I'm mysterious. I'm tricksy.
I know you are on the edge of your seat dying to hear my secret. Well, I'll give it to you: Accessorizing. Flowers, ribbons, headbands, you name it. Add a flower clip to your hair and viola! You just turned a bad hair day into a good one. The best part: no one who sees you will even know your secret. Instead, they will be distracted by the cuteness of your accessory. Suckers.
Of course hair accessories can also be used to top off an otherwise lovely-looking 'do, but I really get a kick out of tricking people into thinking my hair looks great when, in fact, I know it doesn't.
Flower clips often cost more than I'm willing to pay, so instead I started making my own. It's pretty easy if you want to give it a shot.
First, gather your materials. You will need flowers, alligator clips (I got mine at Sally Beauty Supply), and glue (I used hot glue, but you can try Mod Podge, superglue, or something else if you would like).
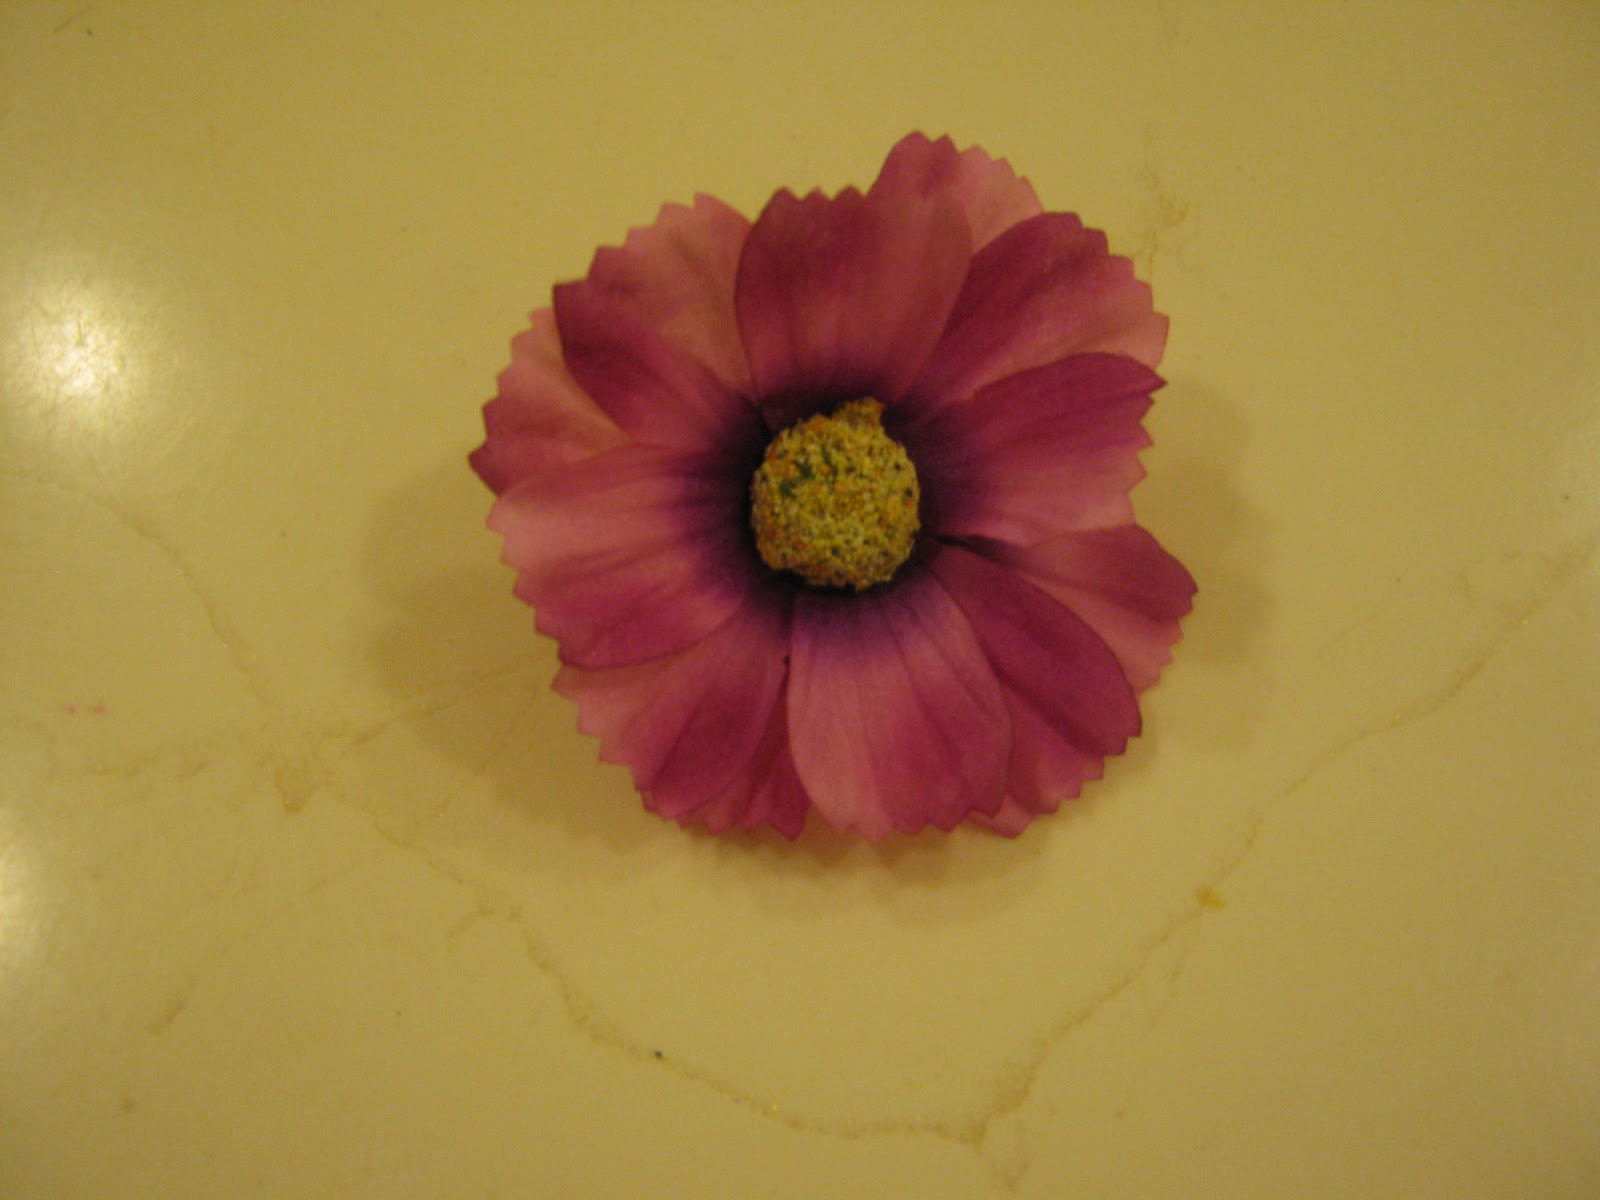
I'm enough of a cheapskate that I will usually look out for flowers at the dollar stores or on sale or clearance. I found these flowers at Kmart for only 30 cents on clearance (and that's including taxes, people):

Select which flowers you want to use, and pop them off of the stems.


If the blossom doesn't come off the stem easily, you can use wire cutters to cut it off.
I also use a pair of wire cutters to cut off the little nub that connects the flower to the stem:


Now you can simply glue the flower to your alligator clip. You will want to hold the alligator clip open during this process so you don't accidentally glue the clip shut. I like to put the end of the clip on my finger to hold it open. If another method works better for you, then go for it.

You want to glue the flower close to the end of the alligator clip, but not so close that you can't open and close the clip. Hold it open until the glue is dry.
Now let's get creative! Sometimes I get a flower like this, which could use a little help.

Hello, sad little flower.
The first thing I did to this flower was take it apart.

To take a flower apart, you want to just pull off that green thing on the back. (I'm sure there's a term for that, but I don't know what it is).


Because this flower is so sad, I wanted to add more petals from other flowers to give it some fulness.

For extra pizzaz, you can also add sequins, rhinestones, or glitter. I didn't have any rhinestones on hand, but I think a big rhinestone in the center would have been really cute for this flower. You can also put small rhinestones around the center.
Glitter is a great addition as well. I like to get a paintbrush, and lightly "paint" the edges of the petals with glue (Elmer's is fine, but I used Mod Podge). I then dipped the petals in glitter. Glitter along the edges gives your flower a more subtle sparkle.
I tried to take pictures of the glitter-ing, but alas, I am not a photographer. You'll just have to imagine what these flowers look like with glitter.
These are the flower clips I made today (click to enlarge):

Some have glitter and some don't. In any case, they are easy to make and oh-so-cute!
These flower clips are a great addition to a side ponytail, a messy bun, or even just behind the ear.

Best of luck in your own trickery (wink, wink).
Note: You can line your clips with ribbon, but I don't think they stay put in my hair quite as well. If you like the look of a ribboned clip, do what makes you happy.
You heard me: trickery. I'm a woman. I'm wily. I'm mysterious. I'm tricksy.
I know you are on the edge of your seat dying to hear my secret. Well, I'll give it to you: Accessorizing. Flowers, ribbons, headbands, you name it. Add a flower clip to your hair and viola! You just turned a bad hair day into a good one. The best part: no one who sees you will even know your secret. Instead, they will be distracted by the cuteness of your accessory. Suckers.
Of course hair accessories can also be used to top off an otherwise lovely-looking 'do, but I really get a kick out of tricking people into thinking my hair looks great when, in fact, I know it doesn't.
Flower clips often cost more than I'm willing to pay, so instead I started making my own. It's pretty easy if you want to give it a shot.
First, gather your materials. You will need flowers, alligator clips (I got mine at Sally Beauty Supply), and glue (I used hot glue, but you can try Mod Podge, superglue, or something else if you would like).
I'm enough of a cheapskate that I will usually look out for flowers at the dollar stores or on sale or clearance. I found these flowers at Kmart for only 30 cents on clearance (and that's including taxes, people):

Select which flowers you want to use, and pop them off of the stems.


If the blossom doesn't come off the stem easily, you can use wire cutters to cut it off.
I also use a pair of wire cutters to cut off the little nub that connects the flower to the stem:


Now you can simply glue the flower to your alligator clip. You will want to hold the alligator clip open during this process so you don't accidentally glue the clip shut. I like to put the end of the clip on my finger to hold it open. If another method works better for you, then go for it.

You want to glue the flower close to the end of the alligator clip, but not so close that you can't open and close the clip. Hold it open until the glue is dry.
Now let's get creative! Sometimes I get a flower like this, which could use a little help.

Hello, sad little flower.
The first thing I did to this flower was take it apart.

To take a flower apart, you want to just pull off that green thing on the back. (I'm sure there's a term for that, but I don't know what it is).


Because this flower is so sad, I wanted to add more petals from other flowers to give it some fulness.
Stack the petals the way you like, and put the flower back together. You can even stack petals from different kinds of flowers. If the little green thing won't fit back on, you can just glue your stack together.
Happy flower!
For extra pizzaz, you can also add sequins, rhinestones, or glitter. I didn't have any rhinestones on hand, but I think a big rhinestone in the center would have been really cute for this flower. You can also put small rhinestones around the center.
Glitter is a great addition as well. I like to get a paintbrush, and lightly "paint" the edges of the petals with glue (Elmer's is fine, but I used Mod Podge). I then dipped the petals in glitter. Glitter along the edges gives your flower a more subtle sparkle.
I tried to take pictures of the glitter-ing, but alas, I am not a photographer. You'll just have to imagine what these flowers look like with glitter.
These are the flower clips I made today (click to enlarge):

Some have glitter and some don't. In any case, they are easy to make and oh-so-cute!
These flower clips are a great addition to a side ponytail, a messy bun, or even just behind the ear.

Best of luck in your own trickery (wink, wink).
Note: You can line your clips with ribbon, but I don't think they stay put in my hair quite as well. If you like the look of a ribboned clip, do what makes you happy.
Friday, January 13, 2012
J-E-L-L-O...it's alive!

Did you know that gelatin can help strengthen your nails?
Many nail strengtheners contain gelatin for this very reason, but I have a secret for you: you can EAT Jello, and it will help strengthen your nails. True story.
Subscribe to:
Posts (Atom)