You heard me: trickery. I'm a woman. I'm wily. I'm mysterious. I'm tricksy.
I know you are on the edge of your seat dying to hear my secret. Well, I'll give it to you: Accessorizing. Flowers, ribbons, headbands, you name it. Add a flower clip to your hair and viola! You just turned a bad hair day into a good one. The best part: no one who sees you will even know your secret. Instead, they will be distracted by the cuteness of your accessory. Suckers.
Of course hair accessories can also be used to top off an otherwise lovely-looking 'do, but I really get a kick out of tricking people into thinking my hair looks great when, in fact, I know it doesn't.
Flower clips often cost more than I'm willing to pay, so instead I started making my own. It's pretty easy if you want to give it a shot.
First, gather your materials. You will need flowers, alligator clips (I got mine at Sally Beauty Supply), and glue (I used hot glue, but you can try Mod Podge, superglue, or something else if you would like).
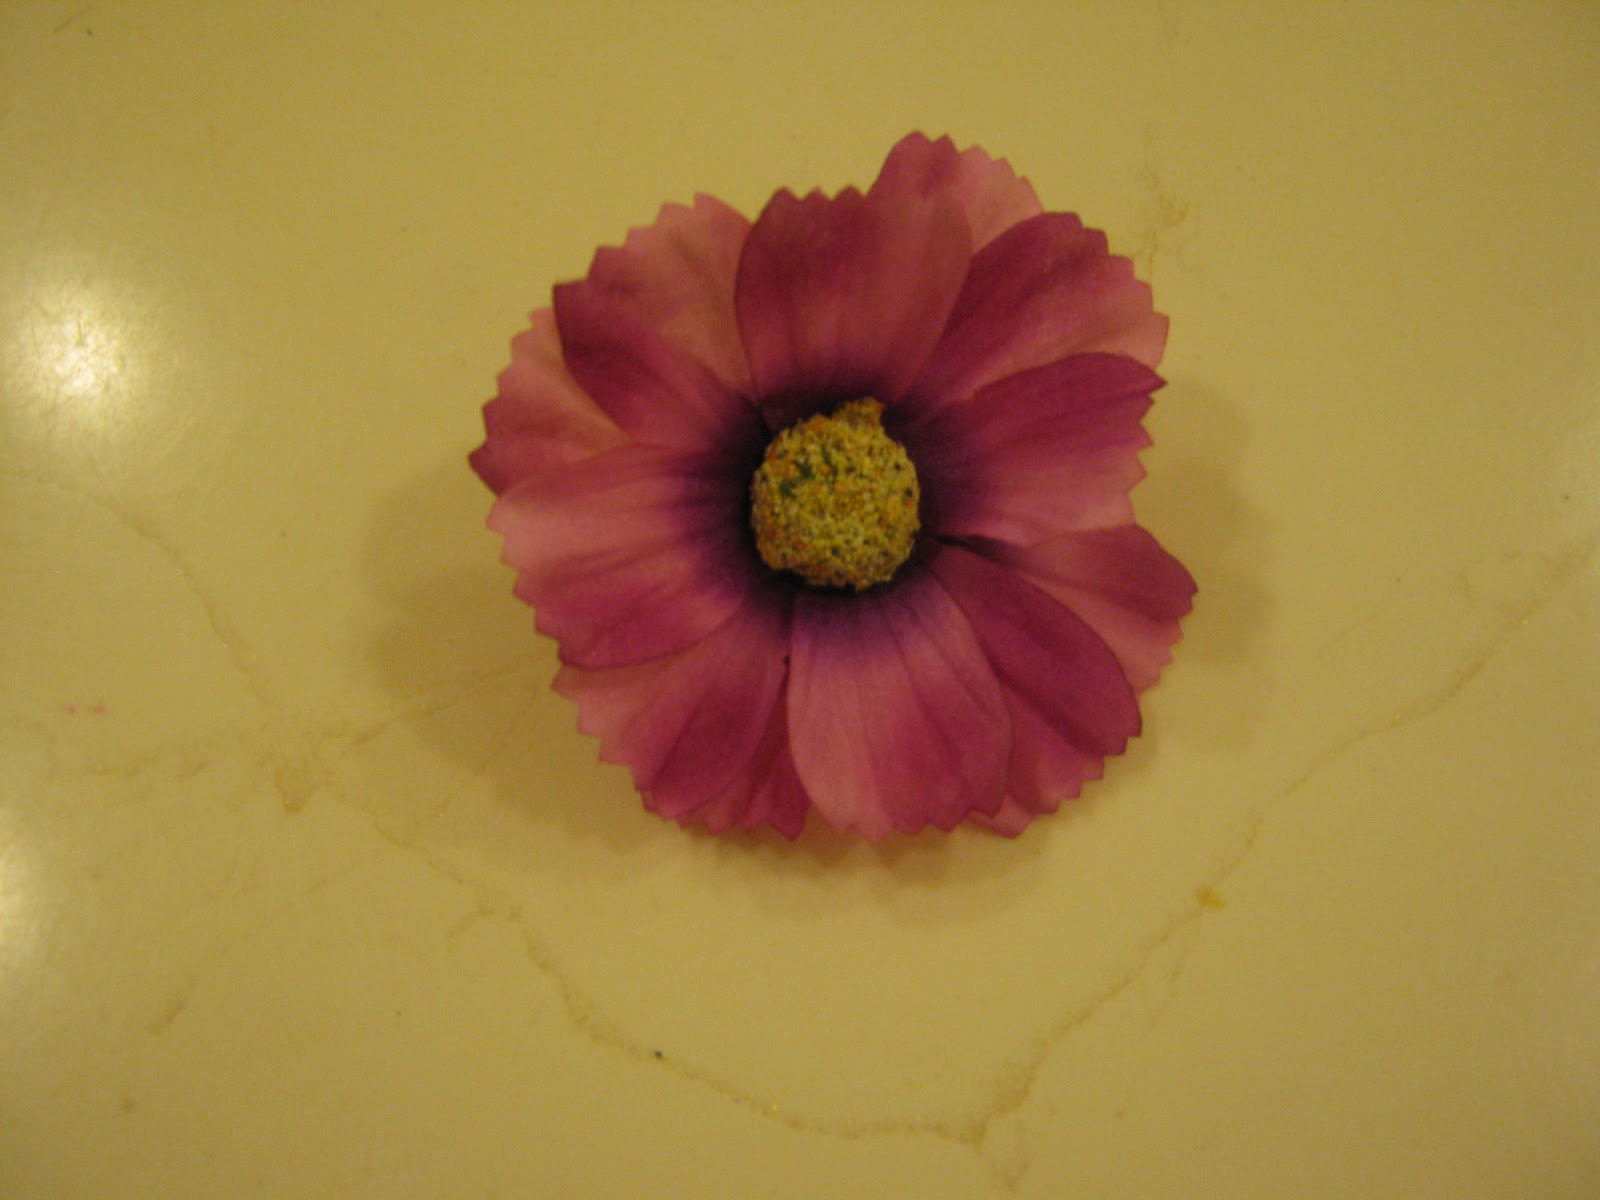
I'm enough of a cheapskate that I will usually look out for flowers at the dollar stores or on sale or clearance. I found these flowers at Kmart for only 30 cents on clearance (and that's including taxes, people):

Select which flowers you want to use, and pop them off of the stems.


If the blossom doesn't come off the stem easily, you can use wire cutters to cut it off.
I also use a pair of wire cutters to cut off the little nub that connects the flower to the stem:


Now you can simply glue the flower to your alligator clip. You will want to hold the alligator clip open during this process so you don't accidentally glue the clip shut. I like to put the end of the clip on my finger to hold it open. If another method works better for you, then go for it.

You want to glue the flower close to the end of the alligator clip, but not so close that you can't open and close the clip. Hold it open until the glue is dry.
Now let's get creative! Sometimes I get a flower like this, which could use a little help.

Hello, sad little flower.
The first thing I did to this flower was take it apart.

To take a flower apart, you want to just pull off that green thing on the back. (I'm sure there's a term for that, but I don't know what it is).


Because this flower is so sad, I wanted to add more petals from other flowers to give it some fulness.
Stack the petals the way you like, and put the flower back together. You can even stack petals from different kinds of flowers. If the little green thing won't fit back on, you can just glue your stack together.
Happy flower!
For extra pizzaz, you can also add sequins, rhinestones, or glitter. I didn't have any rhinestones on hand, but I think a big rhinestone in the center would have been really cute for this flower. You can also put small rhinestones around the center.
Glitter is a great addition as well. I like to get a paintbrush, and lightly "paint" the edges of the petals with glue (Elmer's is fine, but I used Mod Podge). I then dipped the petals in glitter. Glitter along the edges gives your flower a more subtle sparkle.
I tried to take pictures of the glitter-ing, but alas, I am not a photographer. You'll just have to imagine what these flowers look like with glitter.
These are the flower clips I made today (click to enlarge):

Some have glitter and some don't. In any case, they are easy to make and oh-so-cute!
These flower clips are a great addition to a side ponytail, a messy bun, or even just behind the ear.

Best of luck in your own trickery (wink, wink).
Note: You can line your clips with ribbon, but I don't think they stay put in my hair quite as well. If you like the look of a ribboned clip, do what makes you happy.
No comments:
Post a Comment